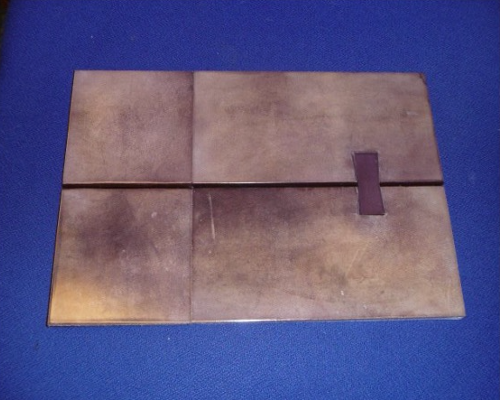
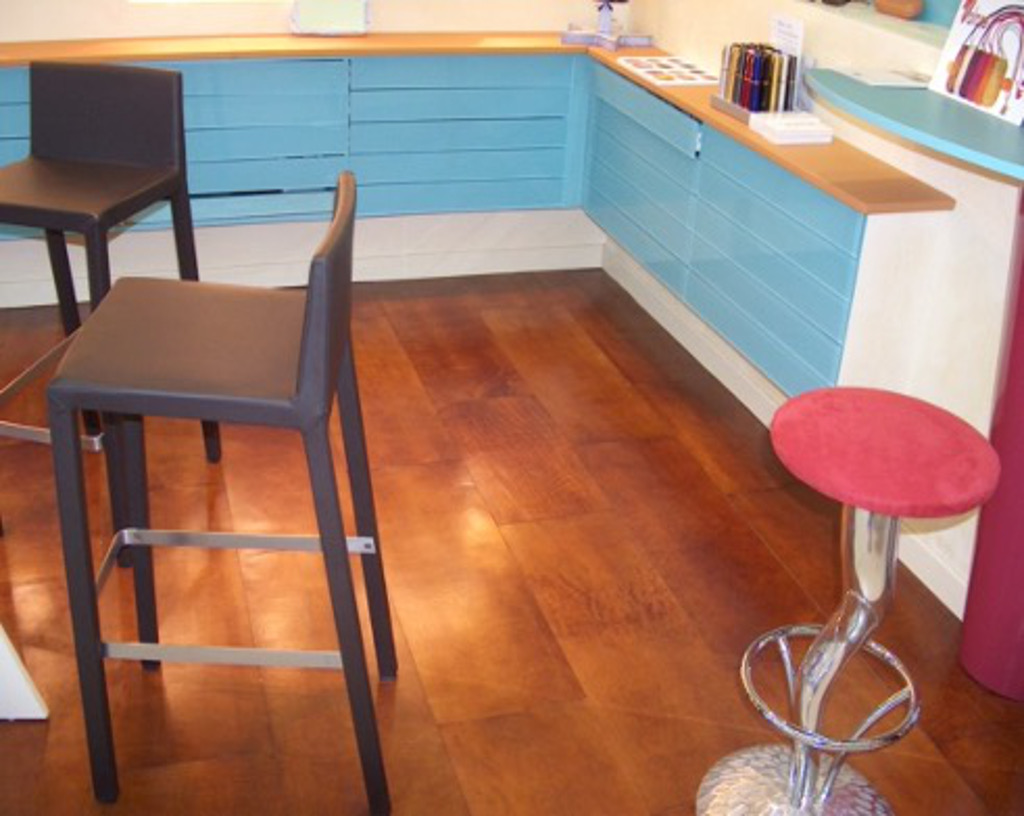
Antique Prestige tiles are made from 4.5 mm thick cowhide. These leathers undergo a natural vegetable tanning process using tannins such as québracho and acacia. This environmentally-friendly tanning process gives the leather a natural, authentic patina with a unique charm. Discreet irregularities in appearance trace the life of the animal, as do nuances in tone, just like wood and its variations in color.
Vegetable tanning is a leather processing method that uses plant sources, such as québracho and acacia, to transform animal hides into leather. Unlike chrome tanning, which uses chemical and synthetic products, vegetable tanning is considered more environmentally friendly, with unique characteristics and a high-quality product.
Antique Prestige and Prémium tiles are made specifically from bull hide. This leather is renowned for its robustness and durability, making it ideal for demanding applications. Nuances of tone and very discreet irregularities of appearance may be present on the leather, reflecting the life of the animal and creating a unique charm... Its natural patina.
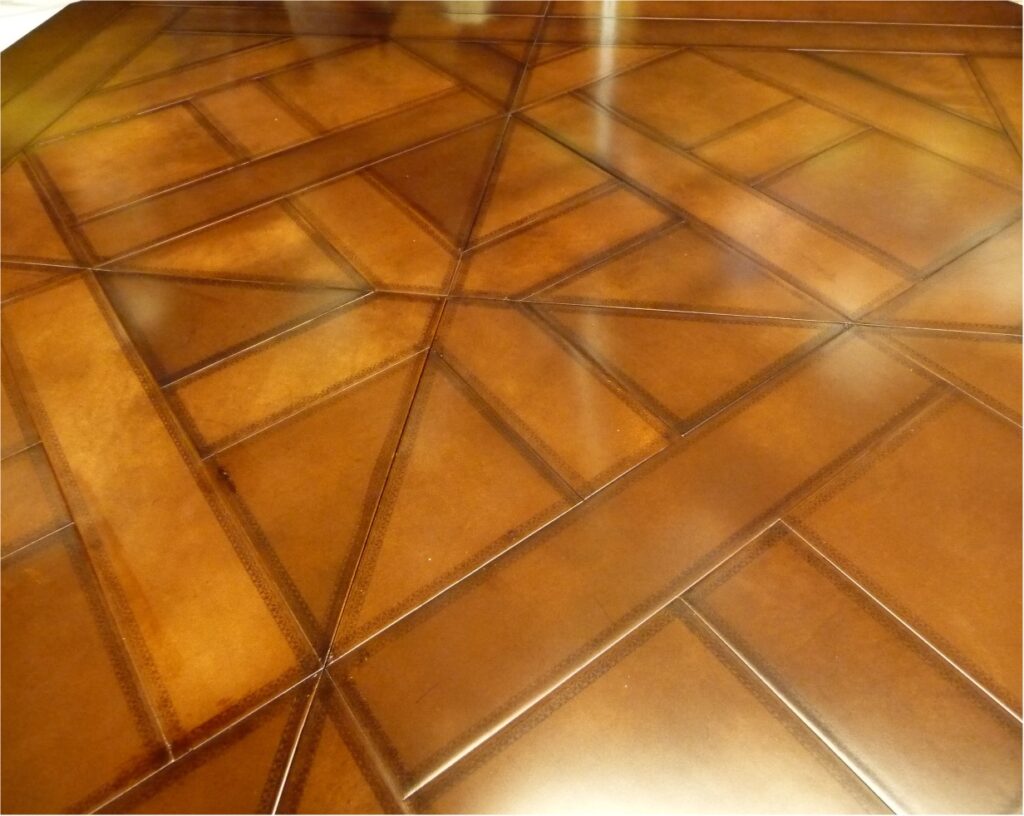
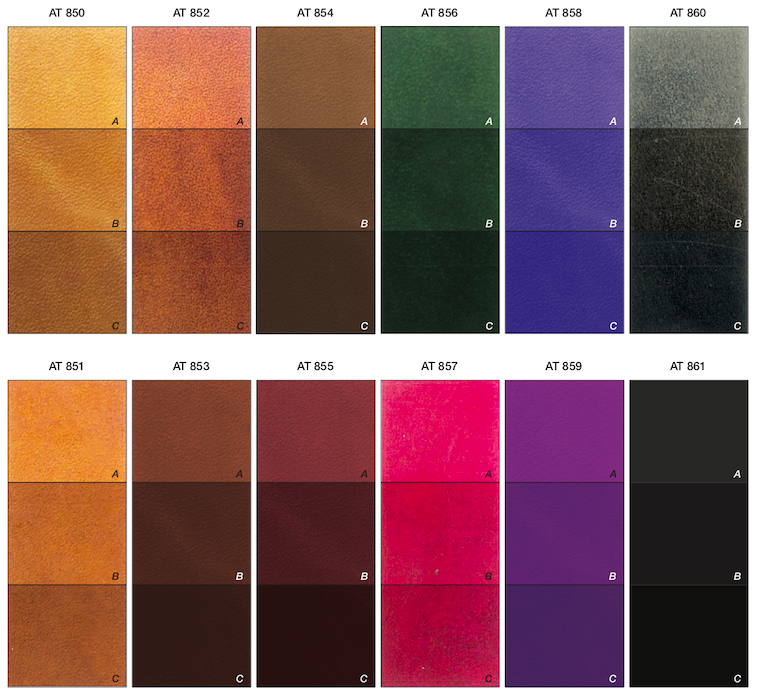
ANTIQUE color
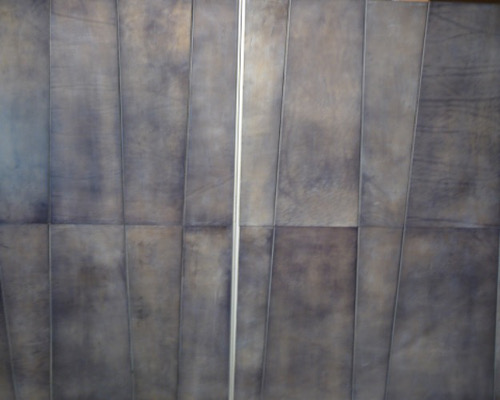
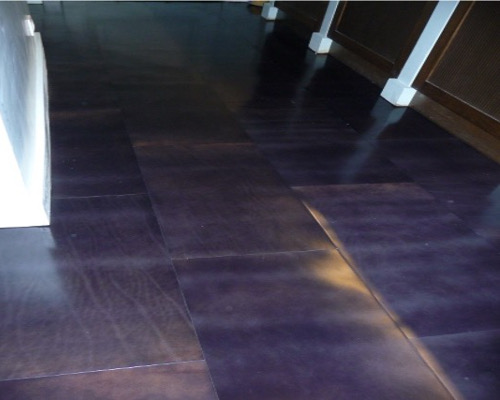
Other custom colors on request. Shaded aspects are the guarantee of a natural product. We offer a range of finishes, including matte, satin, gloss and micro-billé.
The leathers used are European bull hides, approx. 1.20 m² in size and 4.5 mm thick. Its reinforced finish leaves a waxed touch, making it suitable for all uses and offering the possibility of panels in several formats.
Mini - 0.30 x 0.30 cm to maxi - 0.90 x 0.65 cm.
We provide you with a data sheet to help you with the installation and its preparation.
- Several video contacts are planned and necessary to familiarize the installer with the product. - We'll give you all the tips and tricks you need to make the job easier. - Like not bending the slabs, as this cracks the protective layer. - Allow the tiles to rest for 8 days, so that they can stabilize in the ambient atmosphere, especially in certain regions of the world. - Make sure the floor is flat and free of all residues before laying. - Draw a laser starting square to the entrance and the dimensions of the tiles. - Before starting installation, consider the plan provided and its reference points in accordance with the tiles, which are also numbered. - Advice on priming, the recommended glue and its drying times, its application in small areas of 2 to 3 m², confirming pressure on the tiles for better adhesion, removing any glue stains with our assistance kit. - Maintenance made easy with our kit. - Protection from other trades if the job isn't finished.
Options
- Slabs can be laser-marked with acronyms, logos, motifs or other suggestions. Reserved for the Antique collection.
- A sticker can be placed under the tiles. For wall application